VFX Basics: Setting up a Compositing Workflow
With the right tools and techniques, you can create stunning visual effects that will leave your audience in awe. But without the proper workflow in place, those effects could be dead on arrival.
Building a proper compositing workflow can seem like an intimidating task, but fear not. With a bit of patience and forethought, you can easily set up a workflow that will ensure your final render meets the expected specifications and requirements.
TLDR: A Few of the Key Points We'll Cover
- Always try to render in the exact same file format, codec, and color space as your source footage.
- If working with camera RAW source footage, consider using an ACES workflow.
- Be aware of possible gamma shifts and subtle changes caused by rendering in QuickTime and other file formats.
- Communicate with the editorial department and run tests before starting work.
What is a Compositing Workflow?
The compositing workflow is a way to manage the footage delivered to a compositor and rendering out from a compositor. The goal is to ensure that once effects are applied, and renders are created that there will not be any color or gamma shifts and that there will not be any loss in quality.
Compositing Workflow vs. VFX Pipeline
A VFX Pipeline is a comprehensive system for a studio or post-production facility to manage all the assets and steps involved with the production of visual effects shots and sequences. Whereas the compositing workflow is specifically limited to the path images and videos take through a compositing application.
The compositing workflow could be part of a larger VFX pipeline, but in this case, we’re going to treat it as a stand-alone entity.
Why is the compositing Workflow Important?
Setting up and adhering to a compositing workflow allows us to perform the act of compositing without image loss or degradation. It ensures that when we deliver renders to the editorial department, they will be in the same color space as the background plates that we received.
In short, it allows us to work with confidence, focusing on the art of compositing rather than the technicalities of gamma shifting, color banding, pixelation, and other problems.
Sometimes Displays Lie
In a perfect world, all displays would work perfectly, display the full-color gamut, and utilize the same gamma curve. But that isn’t reality. In reality, something that looks good on your laptop or desktop setup, even if you have an expensive high-quality display, might look drastically different on another display, let alone projected in a theater.
However, if we follow the correct procedures, we can be relatively confident that what we see on our screen will translate to other devices and venues as well.
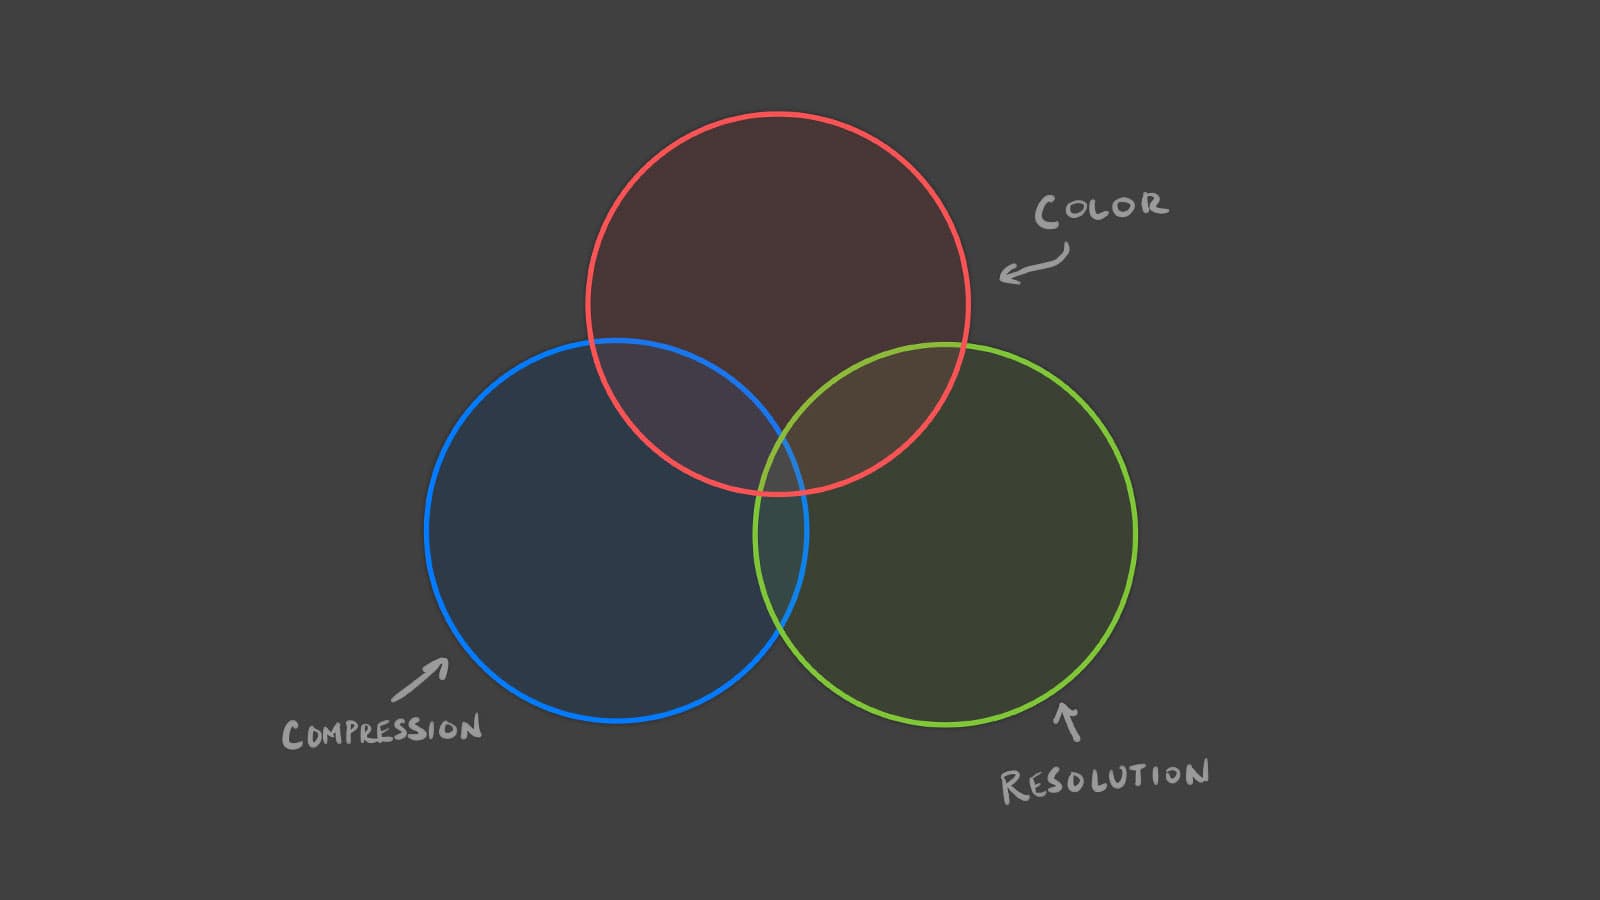
Compositing Workflow Trinity

There are three aspects of primary importance when creating a compositing workflow, color, compression, and resolution.
Color
Both color space and gamma are some of the most important aspects of compositing. It defines the range of colors that can be displayed in a digital video or a display device.
Color Space
The importance of color space is that it enables consistent, accurate reproduction of colors across different devices. Without color space, you could see completely different colors on different screens or devices, which can be frustrating and confusing. It is essential to get right from the start if you want to achieve accurate results.
Bit Depth

If color bit depth is reduced during compositing, it won’t matter if the render color settings match the original file. Once color depth and gamut have been removed from a shot they cannot be added in the render phase.
Gamma
In digital video, gamma is essentially the smoothness of the gradient between black and white on a digital display. Essentially, gamma impacts how bright or dark the different areas of an image will appear.
The number associated with gamma, such as 2.2 or 2.4, represents the curve of this gradient. A higher number indicates a steeper curve, resulting in a more contrasted image, while a lower number indicates a gentler curve and a softer, less dramatic transition.
Compression
Compression is the process of reducing the size of an image file while maintaining its overall appearance and quality. It is important to use the correct file format and codec for your compositing, as different types of compression can affect the overall quality of your rendered visual effects.
When considering compression, there are two primary concerns:
Artifacts
Compression, a process used to reduce file size, can sometimes result in undesirable artifacts. These artifacts may include pixelation, DCT blocks, blocky edges, flickering, and alterations in the noise/grain profile of the image or video, just to name a few.
Color Bit Depth
Compression can also negatively affect the color bit-depth of your footage. The differences between 4:4:4 and 4:2:2 or 4:2:0 compression are beyond the scope of this article but suffice it to say 4:4:4 is the best option and what you generally want whenever possible.
Using a lower color depth can lead to unwanted color banding and loss of subtle details in areas with fine gradients, such as sky and water. Additionally, reducing the bit depth is stripping away information that might not be immediately noticeable but will be crucially missed during the color grading phase of post-production.
Resolution
Resolution is important for ensuring that your rendered visual effects match the detail level of all the other footage in the project. It is important to always render at the same resolution as the project; usually, this will be the resolution of the source footage. This will help avoid any unwanted scaling or stretching of your visual effects.
Rendering at a lower resolution will result in a loss of detail, which might be barely noticeable on some screens but can become more prominent on larger screens or venues.
Rendering at a higher resolution will create unnecessarily large render files and force the edit team to resize the renders in the NLE, which ironically can create a loss in image detail.
Roundtrip Compositing Workflows
There are countless possible ways to set up your compositing pipeline, but essentially all options will fall into one of three categories, Film Log, Video Linear (not really linear), or ACES.
Log-based Workflows
Log-based workflows have long been a staple in the visual effects industry, particularly when dealing with high-dynamic-range content from film scans and digital cinema cameras. These workflows are designed to preserve the maximum amount of image information throughout the compositing process.
Working with Film Scans and Digital Cinema Cameras
Film scans and footage from digital cinema cameras often come in a logarithmic color space, which compresses the wide dynamic range of the original scene into a format that can be stored and manipulated digitally. Common log formats include:
- Cineon Log
- ARRI Log C
- Sony S-Log
- RED Log Film
When working with log footage, compositors must be aware of the specific characteristics of each format to ensure accurate color reproduction and maintain the full dynamic range of the original material.
Log to Linear Conversions
To work effectively with log footage, compositors typically convert it to a linear color space. This conversion process involves:
- Applying the appropriate Input Device Transform (IDT) for the specific log format
- Converting the log data to scene-linear values
- Applying a viewing transform for accurate display on monitors
Many compositing software packages provide built-in tools for these conversions, but understanding the underlying principles is crucial for troubleshooting and maintaining image fidelity.
Linear Workflows
Linear workflows have gained popularity in recent years due to their ability to produce more predictable and physically accurate results in compositing operations.
Benefits of Working in Linear Space
Working in a linear color space offers several advantages:
- Accurate light behavior in 3D renders
- Predictable color math for operations like blending and color corrections
- Preservation of highlight detail
- Consistent results across different compositing operations
Implementing a Linear Pipeline
To implement a linear workflow:
- Convert all input footage to linear space at the beginning of the compositing process
- Perform all compositing operations in linear space
Apply a final output transform (often to sRGB or Rec.709) for display or delivery
It's important to note that working in linear space often requires higher bit depths (typically 16-bit float or 32-bit float) to avoid banding and preserve highlight detail.
ACES Workflow
The Academy Color Encoding System (ACES) has emerged as a comprehensive color management system for the motion picture industry, offering a standardized approach to color throughout the entire production and post-production pipeline.
Understanding the ACES Color Management System
ACES is built on several key components:
- ACES2065-1: A high-dynamic-range, wide-gamut color space
- Input Device Transforms (IDTs): Convert camera-specific color spaces to ACES
- Output Device Transforms (ODTs): Convert ACES to display-specific color spaces
- Reference Rendering Transforms (RRTs): Provide a common appearance across different viewing conditions
Integrating ACES into Your Compositing Pipeline
Implementing ACES in a compositing workflow involves:
- Using ACES-compatible IDTs to convert all source footage to the ACES color space
- Performing all compositing operations in the ACES2065-1 color space
- Applying the appropriate ODT for viewing and final output
ACES offers significant benefits in terms of color consistency, especially for projects involving multiple vendors or delivery to various output formats. However, it requires careful implementation and a thorough understanding of color management principles.
By understanding and effectively implementing these common compositing workflow models, visual effects artists can ensure consistent, high-quality results while maintaining flexibility and efficiency in their projects.
Conclusion
Mastering the art of compositing workflow design is an ongoing process that requires a deep understanding of technical principles, creative problem-solving, and a commitment to continuous improvement. By embracing these principles and recognizing the critical role of workflow in VFX production, compositors and visual effects studios can consistently deliver high-quality work that meets the ever-increasing demands of the entertainment industry. As technology evolves and production pipelines become more complex, the importance of a well-crafted compositing workflow will only continue to grow, serving as the foundation for creating the stunning visual effects that captivate audiences worldwide.
